This is the third post in a series plotting the development of an ultra-simple plate from design in Freecad, processing the STL file using Prusa Slicer through to printing on a Creality Ender 3 3D printer. The first post in the series is HERE. In the previous post (Here) we produced a project of our 3D plate with two holes. Now we need to export it from Freecad as an STL file we can process it using Slic3r-PU
Load the Freecad project in Freecad if you haven’t already. Select it by clicking on the lowest level (in our case the pocket in the application window) The object goes green when selected. Then in the Files menu click export. Export it as an STL file. We are now done with Freecad.
Prusa Slicer
WE now need to use the STL file to produce a gcode file that will drive our Creality Ender 3 or other 3D printer. One of the free programs that can do this is called Slic3r. A development of Slic3r code-base is Prusa Slicer. As I use an Creality Ender 3, I use Prusa Slicer (also called Slic3r-PU) which has all the set up for an Ender 3 already done.
Slic3r-PU has a number of pre-configured set-up for popular 3D printer manufacturers. The Creality Ender 3 set up is still in Beta but I have never had an issue with it. Use the configuration Wizard to set up for your 3D printer. If you are unlucky and there isn’t a pre-configured option for your printer you can set it up yourself. Try this site for more details and links.
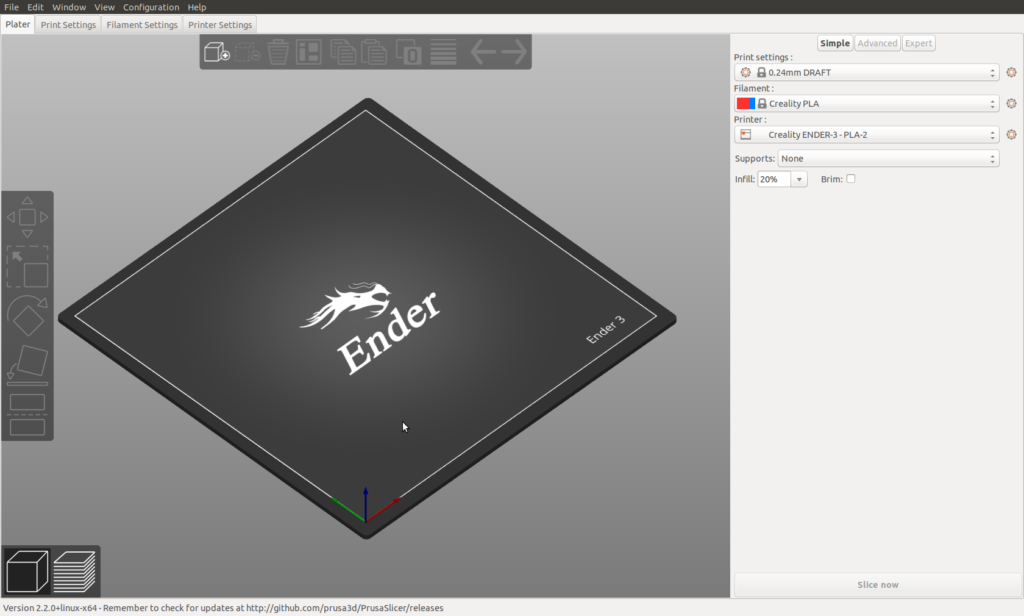
When you’ve been through the selection Wizard you will end up with a display that looks like this ( or similar if you are not using a Creality Ender 3)
Now we need to import the STL file. Go to the file menu and select import and navigate to your STL file. When it is imported you will get a set up that looks like this:
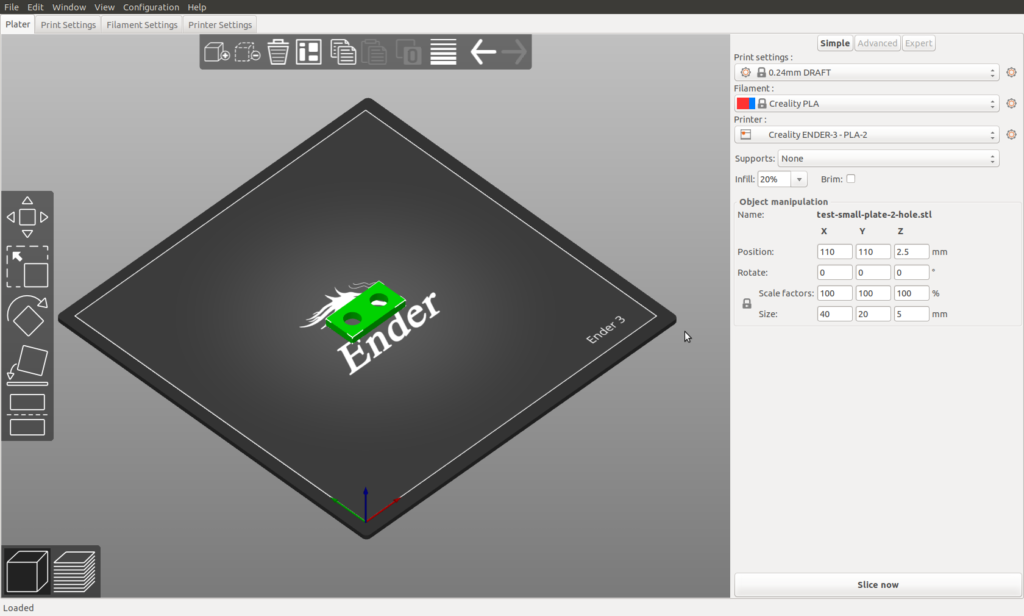
As this will have been imported flat you are ready to go.
BUT…
Face Down!
Assume you had imported a piece that needed turning around for some reason. You need to ensure one of the faces is face down on the plate otherwise the machine will happily try to print a corner in thin air. In this case utilise the face-down tool highlighted here on the left.

As we haven’t changed the position of out simple design we can just slice it. On the bottom far right click the “slice now” button. With this simple piece this will take no time at all. When it has been sliced the same button will allow you to export the gcode file. Now we are done with Slic3r.
Finally we need to use Pronterface/printrun or a memory card to get the gcode to the Creality Ender 3.
Yassamin says:
Thanks for the great posts!
I don’t know why the G-code I get from Prusa for an STL file of a 3D image I transfer from Trnio, isn’t being printed properly by my Ender 3. My printer is only one week old.
I’m very new to the world of 3D printing and need all the help I can get. 🙏🏼